How can I use a rucking calculator to optimize my calorie burn and purchase the right gear?
Use a rucking calculator like a compass: it helps you pick the right combo of load, pace, and distance so you burn more calories without wrecking your joints—and it helps you choose gear that matches how you actually train.
Two truths that make the calculator useful:
- Load changes everything. If you track a ruck like a normal walk, your burn is undercounted.
- Carry type matters. In our model, a backpack is ~7% harder than a weighted vest at the same load/pace/distance (because it’s less balanced and demands more stabilization).

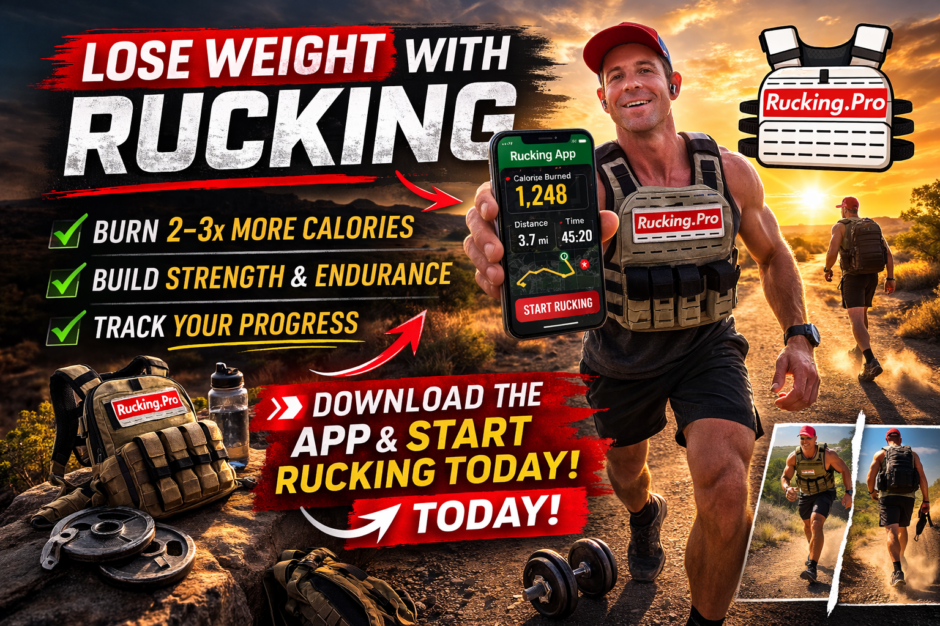
Built by Preston Shamblen — I lost 90 lbs rucking + training. The app is free because I want everyone to have a real ruck tool.
Watch: How to use the Rucking App
Quick walkthrough that shows how to use the calculator features (including the backpack vs vest toggle).
Step 1: Use the rucking calculator to “dial in” calorie burn
Most people guess: “I’ll just add more weight.” That works until it doesn’t. A calculator lets you optimize burn by adjusting the big three:
1) Load
Load increases burn, but it also increases stress. The goal isn’t to see how heavy you can go—it’s to find a weight you can repeat multiple days per week.
2) Pace
Pace is the underrated lever. A slightly faster pace can spike calorie burn without needing a huge weight jump.
3) Distance (or total time)
Distance/time is the lever you can scale safely. If your feet and joints feel good, adding time is usually safer than adding another 20 pounds overnight.
Simple optimization rule: Increase only one variable at a time (load OR pace OR distance) for 1–2 weeks, then reassess.
Step 2: Choose the right carry type (backpack vs weighted vest)
This is where most people waste money. Here’s the real breakdown:
Backpack rucking
- Pros: Classic ruck feel, easy to add hydration, great for trails and longer rucks.
- Cons: Less balanced; can pull posture/shoulders; can feel “harder.”
- In our model: backpack is about ~7% harder than a vest at the same settings.
Weighted vest training
- Pros: Balanced front/back, often feels more stable, easy for frequent training.
- Cons: Less room for water/storage; some vests can bounce if not fitted right.
- Best for: Consistent daily rucks, hills, “throw it on and go.”
Step 3: Buy gear that matches your goal (fat loss + consistency)
Gear is supposed to reduce friction. If it’s annoying to use, you won’t use it. Below are gear picks that match real-world rucking.
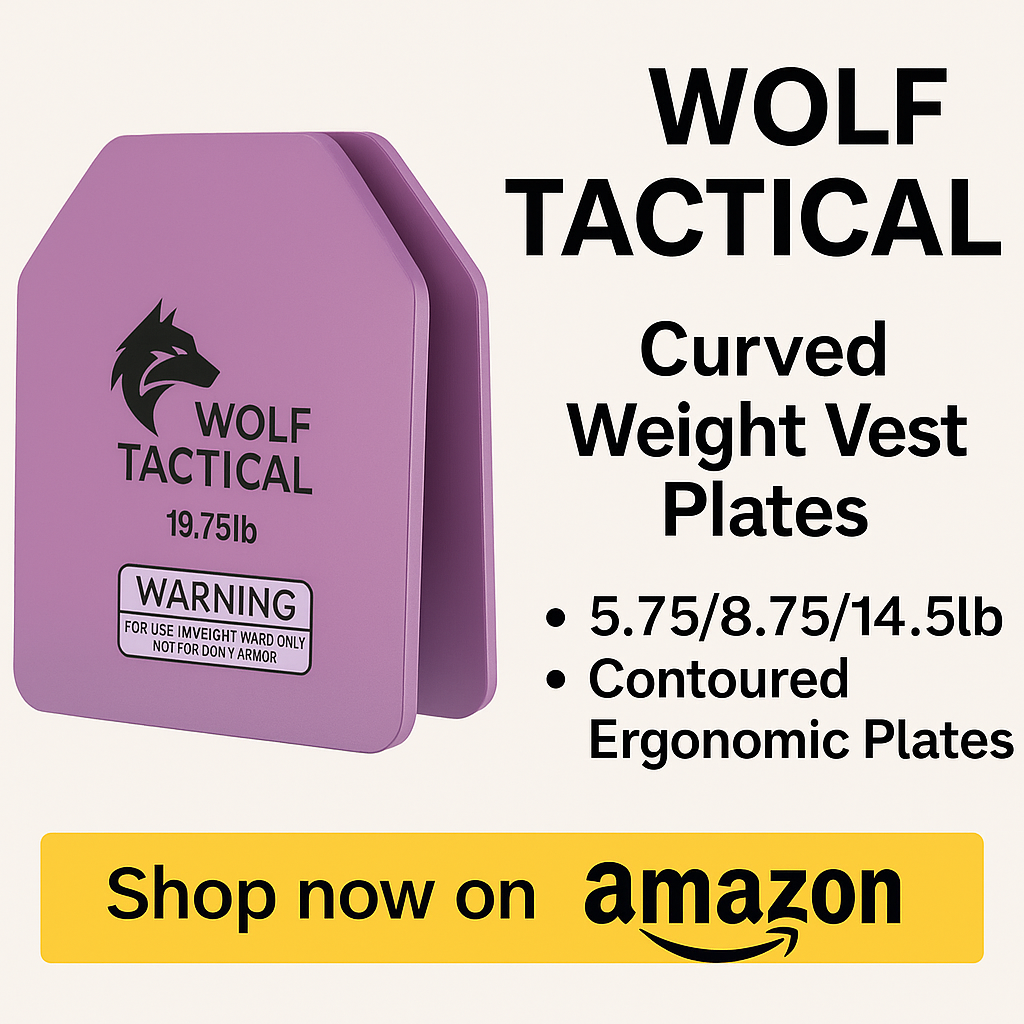
Wolf Tactical Adjustable Weighted Vest

Balanced front/back load. Great for frequent training. #WolfTactical
As an Amazon Associate I earn from qualifying purchases.
Yes4All Ruck Weight Plate

Easy way to scale load. Works in many rucks/plate carriers.
As an Amazon Associate I earn from qualifying purchases.
CamelBak Motherlode (Hydration Backpack)

Great for longer rucks: water + storage + weight capacity.
As an Amazon Associate I earn from qualifying purchases.
How to use the calculator to buy the “right” gear (not the expensive gear)
If your goal is fat loss and you want consistency
- Pick a load you can do 3–5 days/week.
- Use the calculator to find a pace/distance that gives you a meaningful burn without feeling wrecked.
- Choose gear that makes that plan easy: a stable vest or a comfortable backpack + plate.
If your goal is “ruck feel” and trail time
- Go backpack + hydration (more practical for long sessions).
- Remember: backpack is modeled as ~7% harder than a vest—so don’t compare numbers blindly.
- Use the calculator to scale distance safely before you add huge weight jumps.
If your goal is minimal setup (walk out the door)
- Go weighted vest. It’s fast and balanced.
- Use the calculator to slowly build load over time.
- Increase pace or distance when your joints/feet feel good.
Don’t let gear become procrastination. The best setup is the one you’ll use tomorrow morning.
Quick links
Rucking App (Android / Google Play):
https://play.google.com/store/apps/details?id=com.ruckingpro.calculator
Rucking Calorie Calculator (web):
Rucking Calorie Calculator
Rucking Weight Loss Calculator (web):
🏋️♂️ Rucking Weight Loss Calculator – How Long Will It Take?
Affiliate disclosure: As an Amazon Associate I earn from qualifying purchases.